 iPhone Cleaner
iPhone SafeEraser Settings
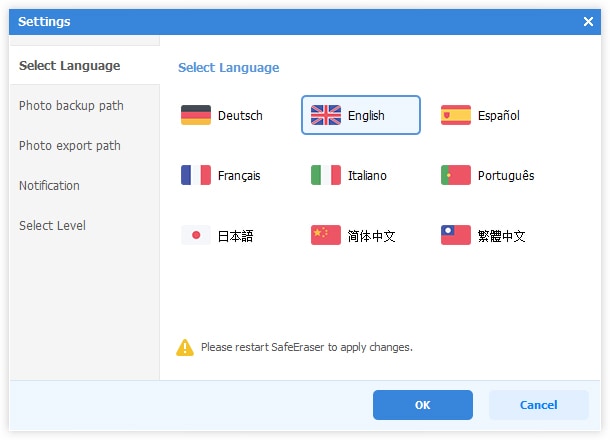
Before you do clean and erase your devices, please read this guide about Macgo iPhone SafeEraser settings. Click Menu button on the top right corner of the interface, then the settings window pops up. There are several options for you to choose.
Preparations you need to do:
- Mac OS X 10.8 - 10.12
- iOS devices
- Others: iTunes installed
You can choose your ideal language of iPhone SafeEraser, just choose one and then restart to apply the language.
You may customize the path where to store the photos you want to backup. In Photo backup path tab, click Modify button and then select the target folder. And you can open the path quick by clicking the Open button.

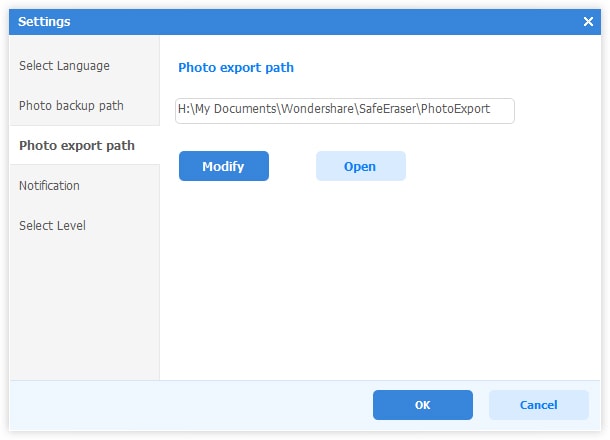
If you want to change the folder where you store the exported photos, choose Photo export path tab and then click Modify button and select the destination folder. Click Open button to open the folder quickly.
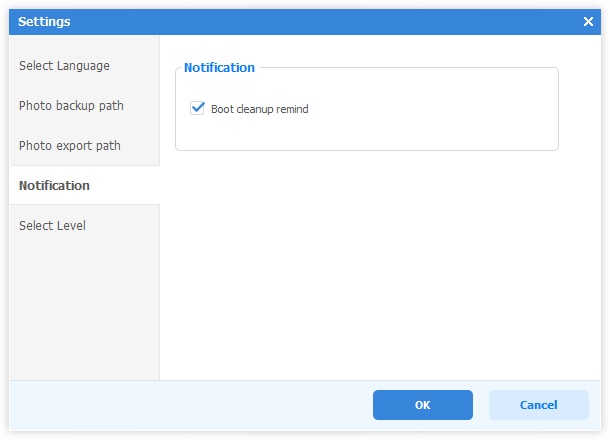
In the Notification tab, you can choose either send you the boot cleanup remind or not.
There are 3 levels of devices erasing.
- High Level, this option enables you to delete the files and overwrite your devices 3 times. And the algorithm is based on the US DoD 5220.22-M of NISP.
- Medium Level, this option will overwrite your device with randomly junk files to ensue all the deleted files could not be recovered.
- Low Level, this option will overwrite all of your data with zeros for 1 time. Basically, the higher level is more safe, but the erasing process takes longer time.

- Email us to support@macblurayplayer.com with detailed information of your device such as device model, build number, kernel version and else.
- Comment us on Macgo Facebook Page, reply to any post or send us a message.
A powerful tool to deeply clean your iPhone and protect your privacy on Mac and PC for free.
Mac DownloadPC Download